
Welcome to your new go-to recipe for crispy chicken tenders! If you’re a busy parent like me, you know that getting dinner on the table can be a challenge. But fear not, because these chicken tenders are not only quick to prepare but also packed with flavor and a satisfying crunch. With just a handful of everyday ingredients, you can create a meal that will please both picky eaters and culinary adventurers alike. Let’s dive into the world of crispy chicken tenders!
Why You’ll Love This Recipe
- Quick and Easy: With minimal prep and cooking time, you can have dinner ready in about 30 minutes, making it perfect for busy weeknights.
- Family Favorite: These tenders are a hit with kids and adults alike, making them a great choice for family dinners.
- Versatile Serving Options: Enjoy them with your favorite dipping sauces, in a wrap, or alongside a fresh salad.
- Customizable Flavors: Adjust the seasoning to suit your family’s tastes—add more spice or switch up the herbs!
- Healthier Alternative: Frying them at home allows you to control the ingredients, making them a healthier choice than fast food.
Ingredients Breakdown
Let’s take a closer look at the ingredients you’ll need to make these delicious chicken tenders, along with some fantastic substitutes:
- Chicken Breasts: 4 boneless, skinless chicken breasts. You can also use chicken thighs for a juicier option.
- Buttermilk: 1 cup for marinating. If you don’t have buttermilk, mix 1 cup of milk with 1 tablespoon of vinegar or lemon juice and let it sit for 5 minutes.
- Hot Sauce: 1 teaspoon to add a kick! Feel free to adjust according to your spice preference.
- Eggs: 2 large eggs, beaten. These help the flour adhere to the chicken.
- Flour: 2 cups for breading. You can use whole wheat flour for a healthier option.
- Spices: Kosher salt (2 1/2 teaspoons), coarse black pepper (3/4 teaspoon), paprika (1/8 teaspoon), garlic powder (1/8 teaspoon), and baking powder (1/8 teaspoon) to enhance flavor and texture.
- Vegetable Oil: For frying. You can use canola or peanut oil for a higher smoke point.
Step-by-Step Instructions
Now that we have our ingredients ready, let’s get cooking!
- Begin by cutting the chicken breasts into four tenders each. Soak them in a bowl with buttermilk and hot sauce for at least 30 minutes to tenderize and flavor the chicken.
- Set up a dredging station: In one bowl, add the beaten eggs. In another bowl, combine the flour and spices.
- Take each piece of chicken from the buttermilk mixture and dip it into the flour mixture, coating it well.
- Next, dip the chicken into the egg, then back into the flour mixture for a double coating that ensures a crispy crust.
- Shake off any excess flour and arrange the coated chicken tenders on a baking sheet.
- Heat the vegetable oil in a Dutch oven to about 350 degrees Fahrenheit (175 degrees Celsius), ensuring it’s deep enough for frying.
- Fry the chicken tenders in small batches for 5-7 minutes or until they are golden brown and cooked through.
- Once cooked, place the tenders on a paper towel-lined plate to drain excess oil.
Pro Tips for Perfect Tenders
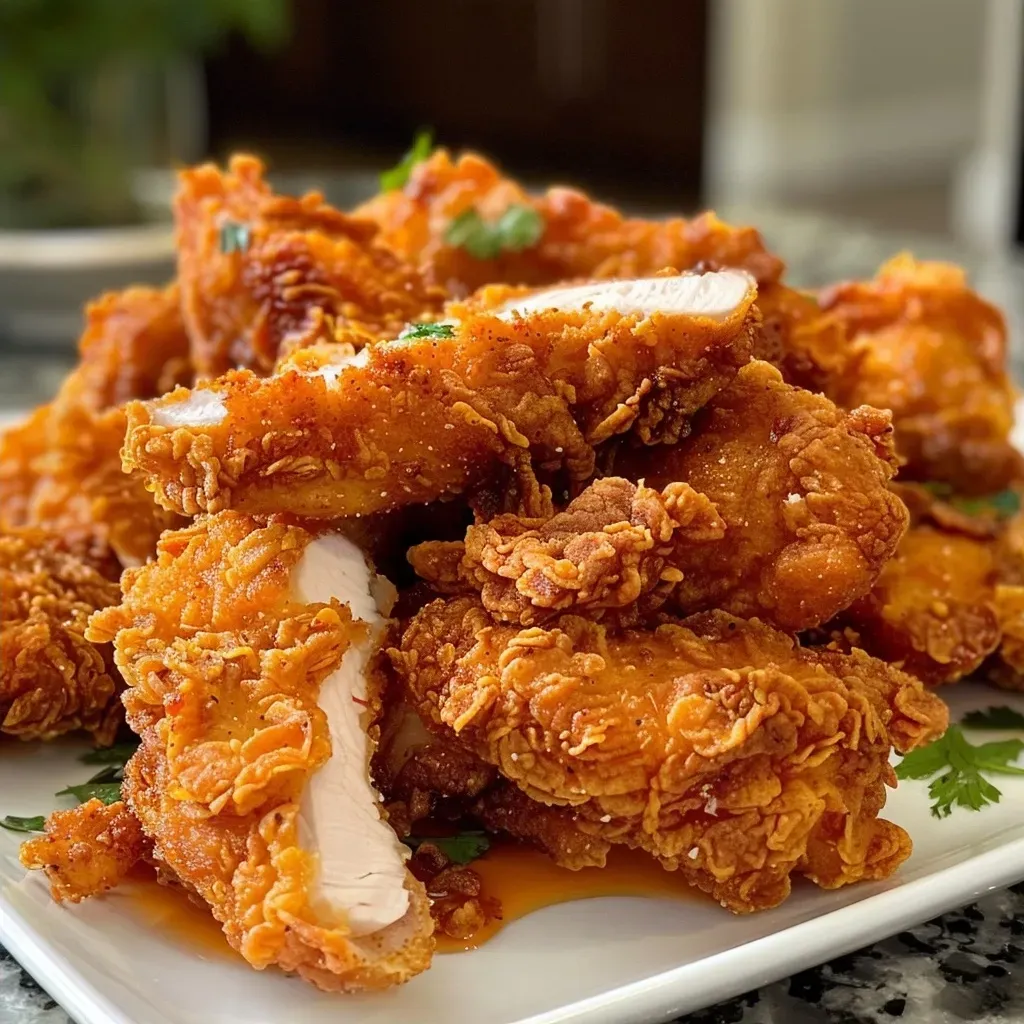
- Marinate Longer: For even more flavor, marinate the chicken in buttermilk overnight.
- Use a Thermometer: Ensure the oil is at the right temperature (350°F) for even cooking. Too low, and they’ll soak up oil; too high, and they’ll burn.
- Don’t Overcrowd the Pan: Fry in small batches to maintain oil temperature and achieve maximum crispiness.
- Experiment with Seasonings: Feel free to add herbs like thyme or oregano to the flour mixture for an extra flavor boost.
- For Extra Crunch: Try adding panko breadcrumbs to the flour for an even crunchier texture.
- Cool Before Storing: Let tenders cool completely before storing in an airtight container to maintain their crispiness.
- Double Dredging: For an extra crispy coating, repeat the dredging process after dipping in eggs.
- Make It Air-Fried: If you want a healthier alternative, try air frying the breaded chicken at 400°F for about 10-12 minutes.
Common Mistakes and Troubleshooting
Here are a few common pitfalls and how to avoid them:
- Uncrispy Tenders: Ensure your oil is hot enough before frying. Test with a small piece of bread—if it sizzles, you’re good to go!
- Flour Doesn’t Stick: Make sure to thoroughly coat the chicken in buttermilk before dredging in flour. A well-wet piece will hold the coating better.
- Overcooked Chicken: Keep an eye on cooking times. Chicken tenders cook quickly, so don’t walk away!
- Too Greasy: Avoid overcrowding the pan, as this lowers the oil temperature. Fry in batches if necessary.
Delicious Variations
Want to mix things up? Here are some fun variations to try:
- Buffalo Chicken Tenders: Add 2 tablespoons of your favorite buffalo sauce to the buttermilk for a spicy twist.
- Herbed Tenders: Incorporate dried herbs like Italian seasoning or dill into the flour mixture for additional flavor.
- Parmesan-Crusted: Mix grated parmesan cheese into the flour for a cheesy, crispy coating.
- Sweet and Spicy: Add a teaspoon of honey to the hot sauce in the marinade for a sweet kick.
Storage and Make-Ahead Instructions
To make your life easier, here’s how to store and prepare these tenders ahead of time:
- Storing Leftovers: Keep any leftover chicken tenders in an airtight container in the refrigerator for up to 3 days.
- Freezing: Freeze uncooked, breaded chicken tenders on a baking sheet. Once frozen, transfer them to a freezer bag for up to 2 months.
- Reheating: To reheat, place tenders in a preheated oven at 375°F for about 10 minutes to restore crispiness.
- Make Ahead: Bread the chicken tenders a day in advance and store them in the refrigerator until ready to fry.
Frequently Asked Questions
Let’s answer some common questions about this recipe:
- Can I bake these chicken tenders instead of frying them? Yes! Place them on a baking sheet and bake at 400°F for about 20-25 minutes, flipping halfway.
- What dipping sauces pair well with chicken tenders? Ranch, honey mustard, BBQ sauce, or buffalo sauce are all excellent choices!
- How can I make these tenders gluten-free? Substitute regular flour with a gluten-free flour blend or almond flour.
- Can I use frozen chicken? Yes, but thaw it completely before marinating and cooking.
- What can I serve with chicken tenders? They pair great with salads, fries, or even in a wrap with fresh veggies.
- How do I know when chicken tenders are done cooking? Use a meat thermometer; chicken should reach an internal temperature of 165°F.
- What if I don’t have buttermilk? You can make a substitute by mixing milk with vinegar or lemon juice as mentioned above.
- Can I air fry these chicken tenders? Absolutely! Air fry at 400°F for about 10-12 minutes for a healthier option.
Nutrition Tips and Dietary Adaptations
For a healthier take on chicken tenders, consider these nutrition tips:
- Make It Whole Grain: Use whole wheat flour or oat flour for added fiber.
- Reduce Oil: Use less oil for frying or opt for air frying to cut calories.
- Control Portions: Pair with plenty of vegetables or a side salad to balance your meal.
- Lower Sodium: Reduce the amount of salt in the recipe for a heart-healthy option.
Essential Equipment Recommendations
To make your cooking experience smooth, here’s what you’ll need:
- Deep Fryer or Dutch Oven: For frying the tenders evenly and safely.
- Heavy-Bottomed Pot: If you don’t have a deep fryer, a heavy pot works great for frying.
- Thermometer: A cooking thermometer ensures your oil is at the right temperature.
- Mixing Bowls: You’ll need several for marinating and dredging.
- Baking Sheets: For placing the chicken tenders before frying.
Serving Suggestions
Now you’ve made your crispy chicken tenders, here are some ideas on how to serve them:
- Classic Combo: Serve alongside fries and a side of coleslaw for a traditional meal.
- Wrap It Up: Place tenders in a whole wheat wrap with lettuce, tomato, and your choice of dressing.
- Salad Topper: Slice tenders and add them to a fresh salad for a protein-packed meal.
- Snack Time: Pair with a variety of dipping sauces for a fun appetizer platter.
With this recipe, you now have the ultimate guide to making crispy chicken tenders that everyone will rave about! Remember, cooking is all about creativity and enjoying the process. So gather your ingredients, get your family involved, and make dinner a fun occasion. Happy cooking!
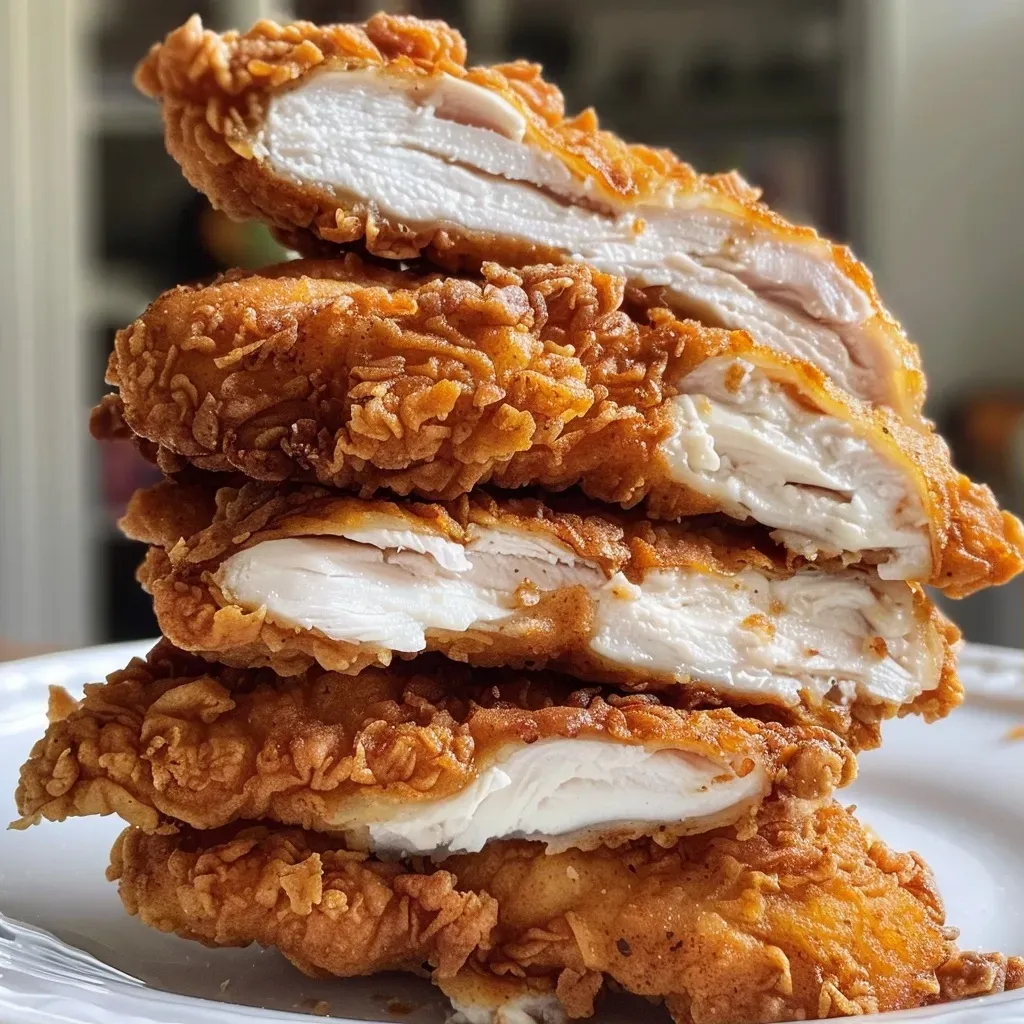
Super Crispy Chicken Tenders Recipe
Ingredients
Chicken
- 4 pieces chicken breasts (boneless, skinless)
- 1 cup buttermilk
- 1 teaspoon hot sauce
- 2 large eggs (beaten)
- 2 cups flour
- 2.5 teaspoons kosher salt
- 0.75 teaspoon course ground black pepper
- 1/8 teaspoon paprika
- 1/8 teaspoon garlic powder
- 1/8 teaspoon baking powder
- vegetable oil vegetable oil (for frying) (enough to fill about 3 inches deep in a Dutch oven)
Instructions
- Cut chicken into tenders and soak in buttermilk with hot sauce for 30 minutes.
- Mix eggs in one bowl; combine flour and spices in another.
- Dip chicken in flour, then eggs, then flour again.
- Fry chicken in hot oil at 350°F (175°C) for 5-7 minutes until golden.